Spark Plug
| Spark plugs (N.G.K.) | DR8ES (600, 1988-1995) CR9EK (600, 1996-1997) JR9C (750) |
| Gap 0 .6 - 0.7 mm (0.024 - 0.028 in) |
SAFETY FIRST: Protective gloves and eyewear are recommended at this point.
Removal
Remove the fuel tank. See the Fuel Tank topic for more information.

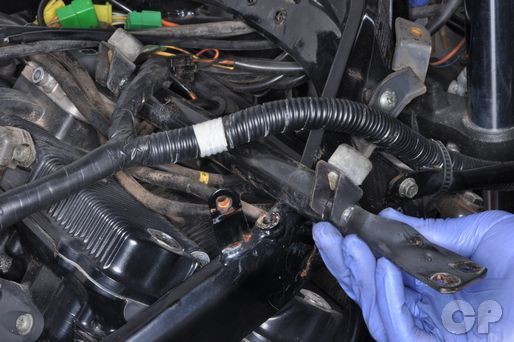
It is easier to remove the spark plugs if you take off the crossbar.
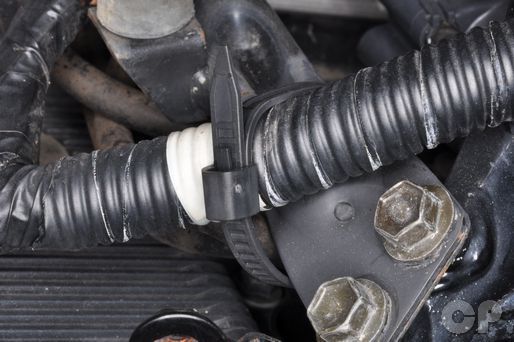


Remove the four cross bar bolts with a 12 mm socket.


Free the wire bands from the crossbar. Remove the crossbar.
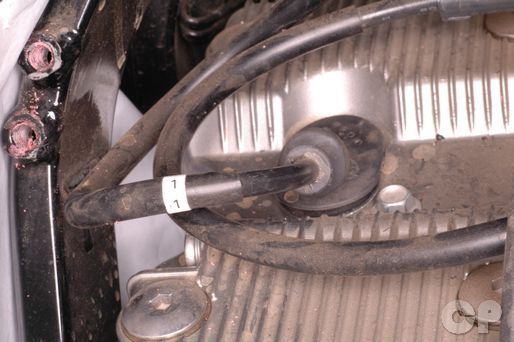


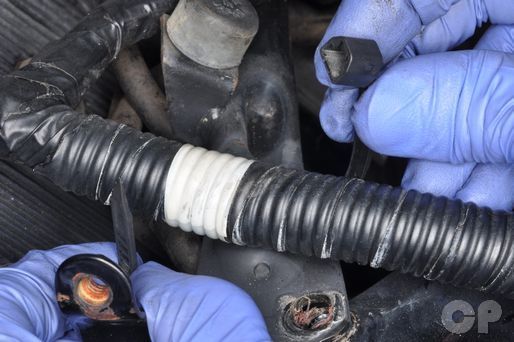
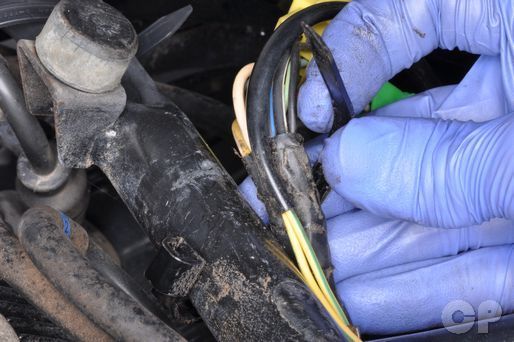
From left to right the spark plug wires are labeled 1, 2, 3, and 4. Pull the spark plug caps off of the spark plugs.
Clean off the area surrounding the spark plugs with compressed air or a shop towel. This is to make sure debris doesn't get into the combustion chamber when the spark plug is removed.
NOTE: Always wear safety glasses when using compressed air and never point it directly at yourself or anyone else.


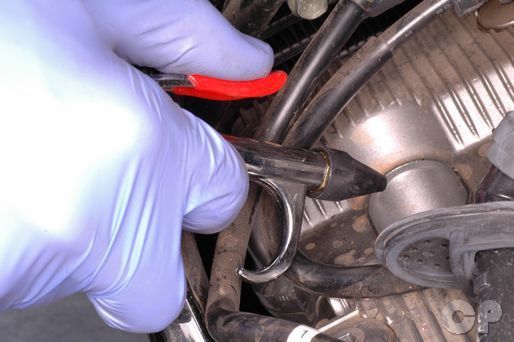
Remove the spark plugs using an 18 mm spark plug socket and ratchet.
Inspection
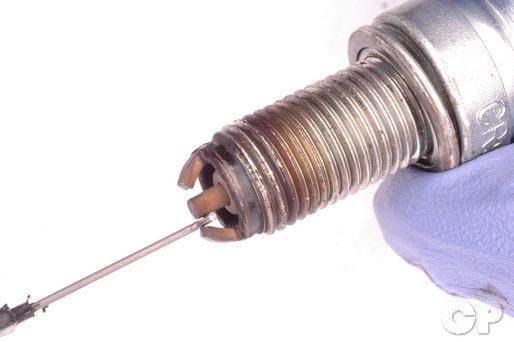
Always check the gap of the spark plugs before installation. The Katana plugs have dual ground electrodes. Check the gap for both. If the gap needs to be adjusted bend the ground electrodes carefully. Inspect the color of the porcelain nose of the spark plug. The color of the spark plug can indicate how the mixture is burning. A white colored plug shows a lean mixture, where a dark plug shows a rich mixture. Do not hesitate to replace a spark plug.
(Spark Plug Gap: 0.6 - 0.7 mm or 0.024 - 0.028 in.)
Installation

Install the spark plugs by hand and then torque them to specification with a size 18 mm spark plug socket.
(Specification for spark plug torque is 11 N-m or 8.0 lb-ft)
Do not over tighten the spark plugs. The cylinder head is made out of soft metal, and it can be easily damaged.


Install the spark plug caps onto the spark plugs. Make sure the caps go onto the proper plugs.
The cylinders are numbered 1, 2, 3, and 4 left to right when looking at the engine from above and behind.
Set the cross bar in place.
Install the four crossbar bolts and tighten them securely with a 12 mm socket.
Install the wire bands to the crossbar.
Install the fuel tank. See the Fuel Tank topic for more information.
Copyright 2025 - Cyclepedia Press LLC

Note: If you are viewing this document offline be sure to visit the latest version online at http://www.cyclepedia.com before attempting any repairs. Updates are made without notice.